YFZ Central banner

Help me set up my CP Piston rings!!

14K views 25 replies 7 participants last post by  climb-101  
#1 ·
Yamaha OEM specs are:

Top Ring - .008"-.012"
2nd Ring - .014"-.020"
Oil Rings - .008"-.020"

CP Piston specs are:

Top Ring - .0187" (There's a note in the manual that says don't go under .016")
2nd Ring - .0224"
Oil ring - No less than .015"

Here's what I measured for end gap in a cylinder with brand new Nikasil and a fresh hone:

Top Ring - .012"
2nd Ring - .018"
Oil Ring 1 - .015"
Oil Ring 2 - .014"

Does anyone have any input as to what numbers I should shoot for? Do I follow CP's recommendations exactly because the gaps seem big? I plan to make sure both oil rings are .015"-.016" unless I should go bigger for some reason, I'm more concerned about the top and 2nd ring.
 
#2 ·
I followed CP specs and have had zero problems. When you are checking the gap make sure the ring is absolutsly perfectly square in the cylinder. If its not percect you will get bad reads. It happened to me.
 
#3 ·
I actually have the cylinder, rings, and a feeler gauge sitting next to me and while I was waiting for someone to respond I was able to replicate those measurements so I think they're pretty accurate. You went all the way out to .019" and .022" for the top and 2nd ring? Did you set the oil rings at the minimum?
 
#4 ·
I didnt have to file any rings. They were all within specs on the sheet they give you.
 
#6 ·
i would follow CP's specs. They might be a different material than stock ones.


also how are you squaring up the rings in the cylinder?
 
#8 ·
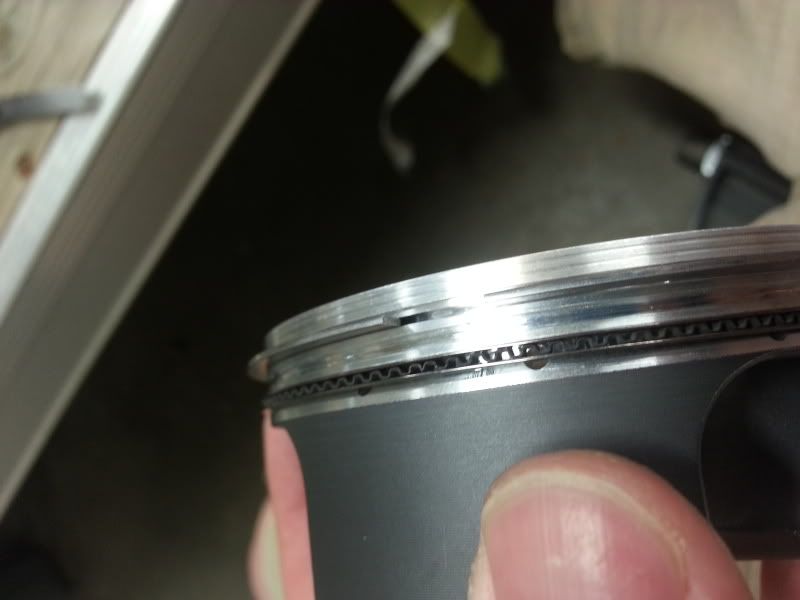
My Piston came with 2 top rings and an oil ring but there's only grooves for one top ring and the oil ring. There's a groove in the middle but it's a lot more shallow than the other 2 grooves and won't fit the 2nd ring.


What do I do now?
 
#9 ·
ya thats how the pistons come. you just use 2 of the 3 rings. and hang the other one aon the wall untill you get tired of looking at it and toss it
 
#10 ·
I wish I would have went a little tighter on the top ring gap then. I didn't realize I bought a MX CP piston. Mixed feelings on that one... Kind of hard to do anything about it now that the jug was matched to this piston by Millenium Tech.
 
#12 ·
Where did you set your end gap on the top ring? I got carried away and went out to about .022" You think it will smoke? My Oil rings are right at .015" which is the minimum. That's what happens when you grind for an hour with a shitty grinder and barely take off .002" and then replace it with a diamond wheel and take off .008" in about 10 turns.
 
#14 ·
Yes Cp rings are alot different then stock and in so should have their own ring end gap specs.

I use my own ring end gap specs, and have never used their recommended spec. Some of my friends did use their specs and it had to much blow by and smoked alot. Maybe they can't build a motor either.....

I would not run a single comp ring piston at .022" end gap. However that is only .04" over "their" recommended spec, so.......
 
#18 ·
It also makes a difference how the rings are seated, .... ie engine break in.

Cp uses nitride rings and these types of rings need pressure forcing them into the bore to seat, both acceleration and deceleration for back pressure to force the rings to seat. If you just put around with no pressure to seat the rings, all it does it gaze the bore, and you will have blow by and smoke.
 
#20 · (Edited)
well I emailed CP and they recommended a gap of .015" for the top ring of a 2 ring piston. .017" is the max but I'm sure you will be fine using their specs for the non MX pistons. They're already on the way to me. I guess no riding for this weekend though. Also, I did plan on riding this thing pretty hard for the first tank of gas to get those rings to seat and then dropping the oil and tossing the filter, do a fresh change, and running it "normal" after that.
 
#22 ·
Well I got my new rings and this time I set them at .015" per CP's recommendation. Once I get that G*&^%*%^ timing plug out of the case. I ordered a 14mm hex socket that will be here tomorrow. That thing is in there TIGHT! I stripped the small one removing it too but replaced it already. I don't think they've ever been out and the cam mod wasn't done so it doesn't surprise me. So how long does the break in process take on these? Do I have time to let the bike warm up before I give it hell or do I need to get on and mash it right away? lol

 
#23 ·
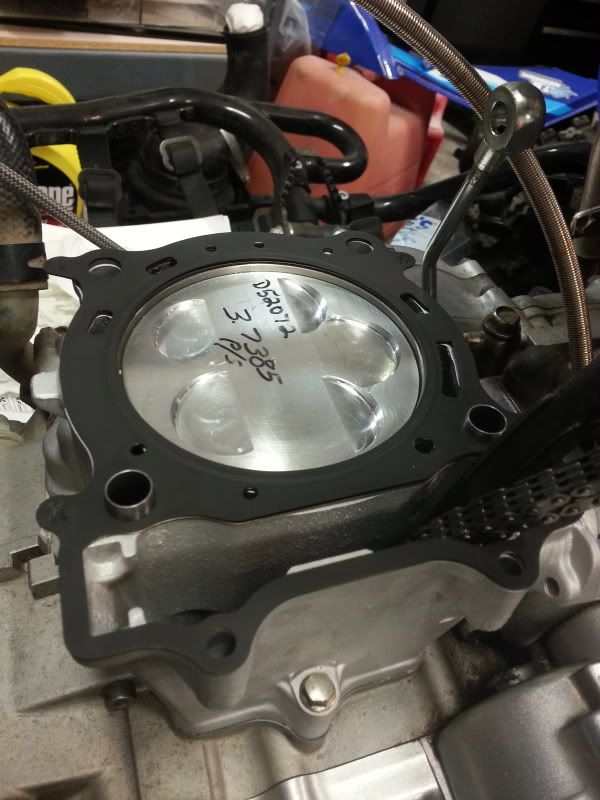
Is that piston at TDC?

I will let it idle and bleed the air out of the oil line at the head. There is a small 8mm bolt with copper washer behind it. Mucho important to do this.

Then check for oil or coolant leaks.

That's it.

Then load it up and go ride it, drag race it, or take it around a mx track.
 
#24 ·
The piston is most likely not at TDC since I can't get the large timing plug out of the motor. I have a 14mm hex socket coming tomorrow which should work and I will check the deck height when I can spin the crank and see the timing marks. It's an OEM 07 crank and cyliner in an 07 motor with oem gaskets so there shouldn't be any issues. I have new copper washers for that oil line that you're talking about. You're saying I should start it w/o that torqued down and let it bleed for a minute? So excited to get this running. New piston, fresh jug, new pipe, and I only had one ride last year on my new FCI intake so it's gonna be a big difference I hope.
 
#26 ·
The piston is most likely not at TDC since I can't get the large timing plug out of the motor. I have a 14mm hex socket coming tomorrow which should work and I will check the deck height when I can spin the crank and see the timing marks. It's an OEM 07 crank and cyliner in an 07 motor with oem gaskets so there shouldn't be any issues. I have new copper washers for that oil line that you're talking about. You're saying I should start it w/o that torqued down and let it bleed for a minute? So excited to get this running. New piston, fresh jug, new pipe, and I only had one ride last year on my new FCI intake so it's gonna be a big difference I hope.

you can use a head of a bolt and just double nut the othe side to take the plugs out FYI